Installing MySQL and phpMyAdmin on Windows using EasyPHP ( WAMP )
MySQL is an open-source database management system used mainly for relational databases. It is considered the second mostly used open-source DBMS following SQLLite. MySQL is being deployed for many high-profile and large scale website including Facebook, youtube, twitter and Flickr.
phpMyAdmin is a nice web application that is mainly used for creating, manipulating as well as managing MySQL databases through an easy web interface. phpMyAdmin usually requires Apache as a web server along with PHP integration.
EasyPHP is a simple WAMP ( Windows with Apache, MySQL and PHP) a simple software that handles the installation of Apache webserver, MySQL and PHP all together on Windows with a few simple clicks and without complex configurations.
1 You need to download EasyPHP from the link below.
[info]Click here to download EasyPHP to your Computer[/info]
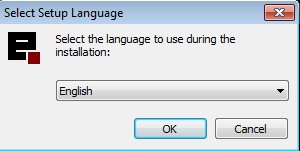
2 Double click on it to install it and Follow instructions on screen to complete the installation.
3 Once completed the installation, Launch EasyPHP . You can always launch it from : Start -> All Programs -> EasyPHP DevServer -> EasyPHP DevServer…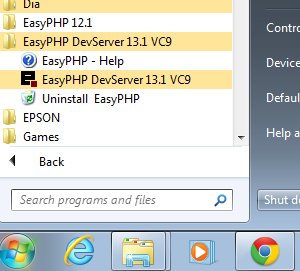
4 We create and manage databases, we need to launch PHPMyAdmin. Look for the EasyPHP icon next to the Windows Watch.
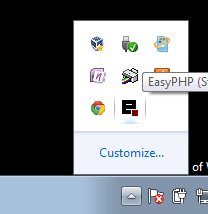 5. Right Click on the icon for EasyPHP and click Administration.
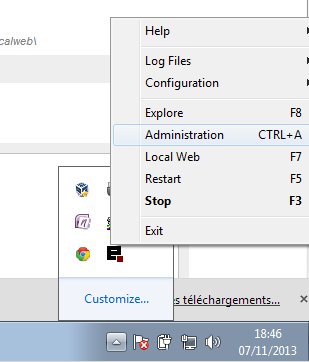
5 A webpage would show up on your Firefox or Chrome or Explorer. Look for phpMyAdmin under MODULES, Click Open to open phpMyAdmin

6 phpMyAdmin would be opened on a new window as shown in the image below. 
7 To create a new database, Click on Databases then type in the name of the database, then click Create.
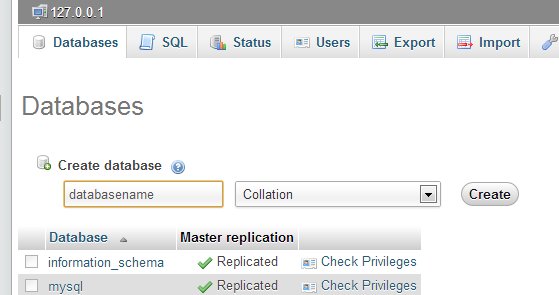
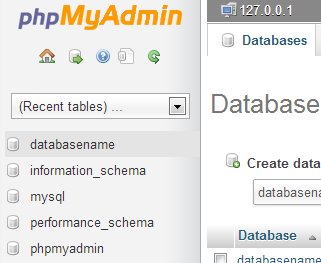
8 Once the database “databasename” is created, click on it within the left side as shown below:
9 On the next screen click on SQL, type in your SQL code and press GO.
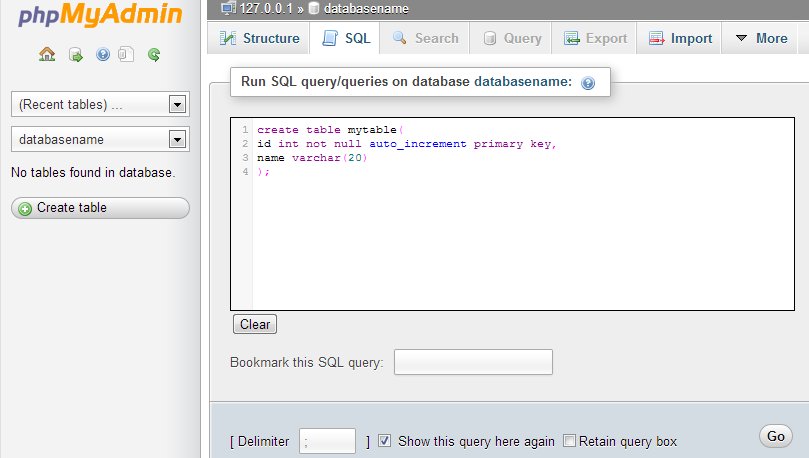
The SQL code is below:
create table mytable(
id int not null auto_increment primary key,
name varchar(20)
);
